
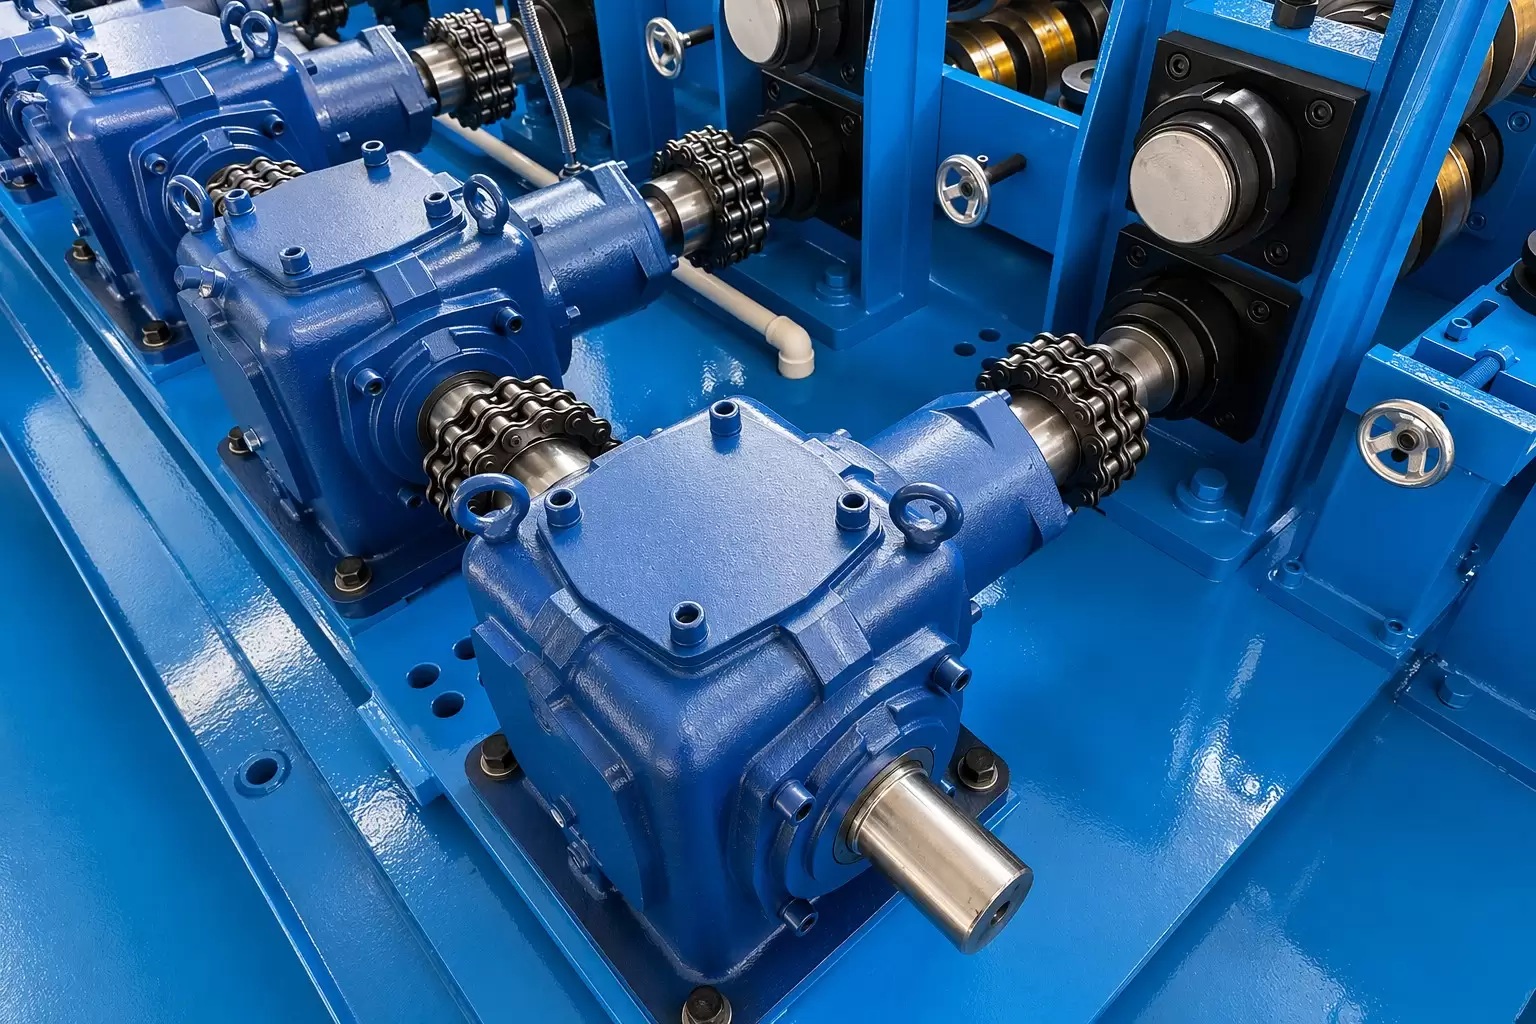
Even a well-maintained cable tray roll forming machine will occasionally produce problems — profile dimensions that drift out of tolerance, hole positions that shift, surfaces that scratch, or cuts that vary in length. Most of these problems have straightforward causes and equally straightforward solutions.
This guide covers the eight most common cable tray machine problems, their root causes, and the corrective actions that resolve them.
Problem 1: Tray Width Out of Tolerance
Symptoms: Finished cable tray is narrower or wider than the specified dimension. Lids do not fit correctly. Side rails are not parallel.
Root causes:
- Roller gap has drifted from the original setup setting
- Rollers on one side are more worn than the other
- Material thickness is different from the specified input (thicker material requires wider gap; thinner material produces a narrower profile if gap is unchanged)
- Machine frame has settled or shifted on its foundation
Solutions:
- Measure the finished tray width at three points along its length using a digital caliper
- Compare against the setup sheet roller gap settings — re-adjust any station that has drifted
- Measure incoming material thickness at multiple points using a micrometer — verify it matches the specification
- If width variation is consistent from end to end, check machine level with a precision level instrument
Problem 2: Tray Side Walls Not Vertical (Outward or Inward Lean)
Symptoms: Side rails lean outward (open) or inward (closed) rather than being perpendicular to the base. Lids cannot close properly. Rails do not sit flat.
Root causes:
- Incorrect roller gap in the final forming stations
- Unequal springback from left and right side forming sequences
- Material yield strength higher than specified (high-strength material springs back more)
Solutions:
- Adjust the final station rollers to over-bend by 2–3° — springback will bring the wall back to vertical
- Check material certification for yield strength — higher yield strength steel requires compensating over-bend
- Verify that left and right side roller gaps are equal using feeler gauges at each station
Problem 3: Hole Position Drift (Punching Accuracy)
Symptoms: Hole spacing varies along the tray length. Holes are correctly positioned at the start of a run but drift out of position progressively.
Root causes:
- Punch press timing is slipping relative to the material feed
- Feed encoder wheel is slipping on the material surface (insufficient grip or surface contamination)
- Hydraulic system pressure fluctuating, causing inconsistent punch stroke timing
- Punch die is worn, requiring higher force and causing press timing lag
Solutions:
- Clean the encoder wheel contact surface and verify it is pressing firmly against the strip
- Check hydraulic system pressure stability — monitor pressure gauge during punching cycle
- Inspect punch die edges for wear or rounding — worn dies need more force and produce timing lag
- Re-calibrate the punch trigger position in the PLC parameters
- If using servo punch: verify encoder feedback cable is intact and not damaged
Problem 4: Surface Scratches on the Tray
Symptoms: Longitudinal scratch marks on the tray base or side walls. More pronounced at specific forming stations.
Root causes:
- Metal chips or scale embedded in roller surface
- Roller surface is damaged or corroded
- Insufficient lubrication at forming contact points
- Entry guide edges are sharp or worn
Solutions:
- Inspect all roller surfaces under good lighting — embedded particles appear as shiny bright spots
- Clean roller surfaces with a soft cloth and solvent — do not use abrasive materials
- Check the lubrication system — verify lubricant is reaching the forming contact points at each station
- Inspect entry guide edges for sharpness or damage — deburr or replace as needed
- If scratches persist after cleaning, the roller surface may need professional reconditioning
Problem 5: Tray Bowing (Longitudinal Curve)
Symptoms: The finished tray curves upward, downward, or sideways along its length when placed on a flat surface.
Root causes:
- Straightener (leveler) set incorrectly
- Unequal forming pressure between left and right sides of the machine
- Residual stress in the incoming coil material
- Top and bottom rollers at a specific station applying unequal pressure
Solutions:
- Adjust the straightener gap — for upward bow (smile shape), increase downward pressure; for downward bow (frown shape), reduce it
- Check forming roller gap symmetry at each station — unequal pressure across the width causes lateral bow
- Check incoming coil condition — if the master coil has a pronounced camber, request replacement from your coil supplier
- Run a short test with a different coil to determine whether the issue is material or machine
Problem 6: Cut Length Variation
Symptoms: Finished tray lengths vary beyond the specified tolerance. Some pieces are longer, some shorter, with no consistent pattern.
Root causes:
- Length measurement encoder slipping or wheel worn
- Hydraulic cutoff system pressure inconsistent
- Material slip in the forming stations causing the measured length to differ from the actual formed length
- PLC length parameter incorrectly set or drifted
Solutions:
- Clean and inspect the encoder wheel — replace if worn or cracked
- Verify hydraulic system pressure is stable during the cutting cycle
- Check forming station roller grip — worn rubber feed rolls allow material slip
- Measure 10 consecutive pieces and calculate average — if consistently off in one direction, adjust the PLC length compensation parameter
- Verify encoder pulse count vs. actual distance traveled using a physical tape measure as reference
Problem 7: Tray End Deformation (Bell-Mouth / Flare)
Symptoms: The ends of cut trays are wider or more open than the mid-section cross-section. The first and last 100–200 mm of each piece do not conform to the profile specification.
Root causes:
- When the strip end passes through the forming stations, there is no trailing material to provide forming tension — the profile springs open
- Pre-cut method (cutting before forming) causes the strip end to deform as it exits the final stations without support
Solutions:
- Switch from pre-cut to post-cut configuration if profile geometry allows
- Add a profile support guide at the exit of the final forming station to maintain shape until the cutoff
- If using pre-cut: trim the deformed end sections and account for this material loss in your coil consumption calculation
- Increase clamping force at the cutoff unit to hold the profile firmly during the cut stroke
Problem 8: Machine Vibration and Noise During Production
Symptoms: Excessive vibration or unusual noise from specific stations or the drive system during production. Quality problems often accompany this symptom.
Root causes:
- Loose bolts on forming station mounting plates
- Worn or damaged bearings in forming stations
- Chain tension incorrect (too loose causes jerking; too tight causes overload noise)
- Roller shaft misalignment between stations
Solutions:
- Stop the machine and walk the full length — check every visible bolt and re-torque any that have loosened
- Listen for the noise location during a slow-speed run — bearing noise is typically a rhythmic grinding or squealing from a specific station
- Check chain tension — the chain should have the deflection specified in the machine manual (typically 2–3% of chain span)
- Check shaft alignment between adjacent stations using a straightedge
Preventive Action: Stop Problems Before They Start
The most effective way to manage cable tray machine problems is to prevent them through structured maintenance:
Refer to the full maintenance guide: Roll Forming Machine Maintenance: The Ultimate Checklist
Conclusion
Cable tray machine problems are rarely mysterious. They have specific root causes and specific solutions. The key is systematic diagnosis — measure the symptom accurately, trace it to its source, and apply the correct fix rather than adjusting random parameters until something changes.
If you are experiencing a production problem with your cable tray machine that this guide does not resolve, contact our engineering team with a description of the symptom and the measurements you have taken. We provide technical support for machines we supply throughout their operational life.
Related Articles:
